This tutorial explains how to add a Rich Text object to your design. A Rich Text object is similar to a Text object, but allows individual characters and paragraphs to be formatted independently. While the screen shots are made using our Business Card Designer Plus software the same steps apply to our Print Designer GOLD and Label Designer Plus DELUXE programs as well.
To get to the starting point of this tutorial create a new design or open an existing design.
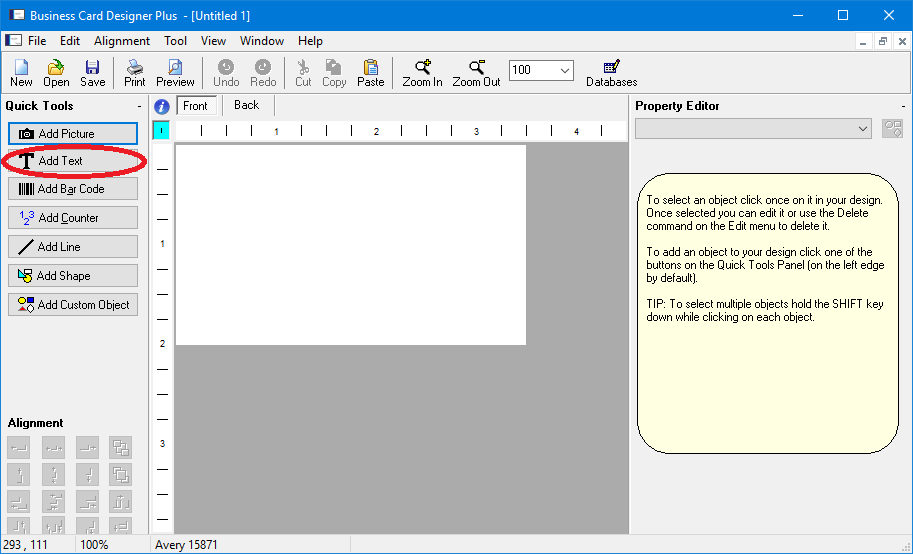
Once your design is created you add a Rich Text Object by clicking the Add Text button (circled below).
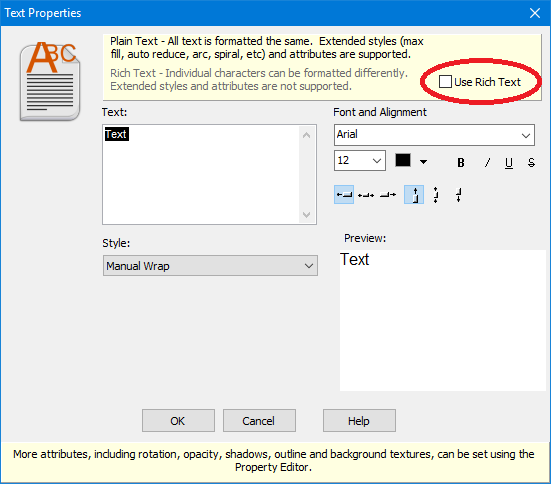
On the Text Properties screen select Use Rich Text (circled below) to convert the text object to rich text then click OK.
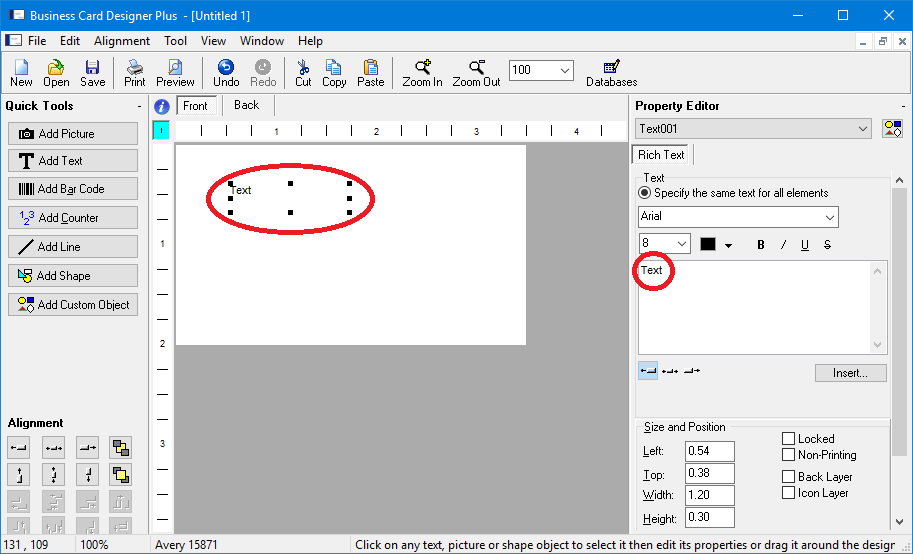
After the Rich Text object is inserted you will see it in your design and you can edit the text for it in the Property Editor.
With the Rich Text object inserted just type the text you want to display or click the Insert button below the text to add fields, counters and date/time macros. As you type you will see the results in your design in real time.
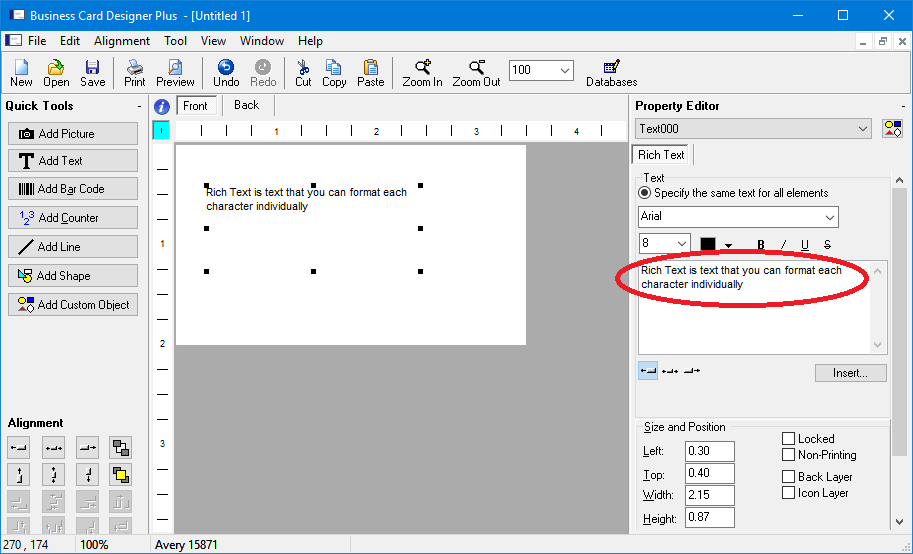
Once the text is entered you can format individual parts of it by selecting them, choosing a font, size, color, style and use the alignment buttons below the text to adjust alignment. As you format the text you will see the results in our design in real time.
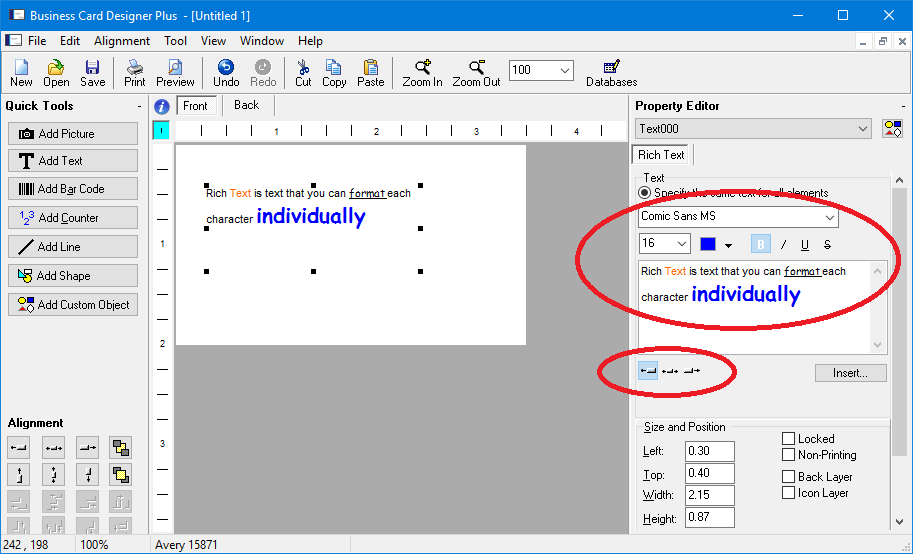
A Rich Text object is a nice way to add formatted text to your design. You can even insert database fields, counters and date and time macros into a Rich Text object. It's very useful when you have text that you want to stay together, but want one or more lines to be formatted differently. For example, if you have an address that consists of name, street, city, etc. and you want to make the name bold or a different color.